Showing posts with label Tips n Trick. Show all posts

Login to Ubuntu Using Face Recognition in Ubuntu Maverick Meerkat 10.10

In this post we will share tips to you I login in ubuntu using face verification. Surely you have to know? for those of you who do not know. I will try to share with you. Immediately, we begin.

Go to terminal, login as root by type :

$ sudo su

Then add third party from the PPA repository and update the repository using command :

$ apt-add-repository ppa:antonio.chiurazzi/ppa
$ apt-get update

Then install the application face trainer with the command :

$ apt-get install pam-face-authentication

When finished installing, now we add a configuration file for the "gdm and su", this configuration is to run the application face trainer to get the road when the gdm login, type the command :

$ gedit /etc/pam.d/gdm

Add "auth sufficient pam_face_authentication.so enableX" top row without "" (quotation). Then edit one file again :

$ gedit /etc/pam.d/su

Add "auth sufficient pam_face_authentication.so enableX" most of the same row without a sign "" (quotation).

Configuration :

Open Applications> Other> Qt Face Trainer, then the settings and input your photo here :

Step 1
Step 2
Step 3
Finish and happy Testing...!!
Read More...!!

Install Ubuntu Tweak 0.5.10 in Ubuntu Maverick Meerkat 10.10

Have not been posting here, because now to configure is user friendly, is easy and not complicated like the Ubuntu version of 7.10 Under. This time we will discuss how to install Ubuntu Tweak 0.5.10 version of the latest release.


First open a terminal and login as root by type :

$ sudo su

And Add Thir Party Repository by Type :

$ add-apt-repository ppa:tualatrix/ppa

Update repository then install ubuntu tweak 0.5.10 by type :

$ apt-get update 
$ apt-get install ubuntu-tweak

And Finish...!! You also can install manually by download deb package ubuntu tweak here :

http://launchpad.net/ubuntu-tweak/0.5.x/0.5.10/+download/ubuntu-tweak_0.5.10-1_all.deb
Read More...!!

Recovery Grub After Installing Windows In Ubuntu 10.10 (Maverick Meerkat)

Has long this blog is not updated, I'm sorry I did not get to take care of this blog, now I promise, I will continue this blog for this blog is not abandoned.

In this time we will discuse about Recovery Grub After Installing Windows in Ubuntu 10.10 (Maverick Meerkat)
We needed LiveCD ubuntu 10.10.booting from LiveCD, After login, open terminal, login as root by type :

$ sudo su


Find Ubuntu partition by type :

$ fsdisk -l

See examples of partition in the image below :


In the picture above, the linux partition is on /dev/sda1. Create a directory to manipulate your ubuntu using  command :

$ mkdir /media/root
$ mount /dev/sda1 /media/root

If you have successfully mounted directory, then install grub by type :

$ grub-install --root-directory=/media/root /dev/sda

If everything is correct, then there is no error message and that is the message 'finish and no error report ", then reboot your computer by type :

$ reboot

Then you should direct automatically go to ubuntu and grub can not access the windows, go to the ubuntu. open a terminal and login as root and update grub :

$ sudo su 
$ update-grub

Now grub on your ubuntu is fixed.

Happy Testing...!!
Read More...!!

Remove Gnome Panel in Ubuntu Maverick Meerkat (10.10)

In this post, we will discuss for removing gnome-panel in ubuntu maverick by using gconf-editor, it really just to create variations on your Ubuntu desktop. for removing gnome-panel in ubuntu maverick, open terminal, then open gconf-editor with the command:


$ gconf-editor

Go to :

desktop > gnome >session > required components

And search for "gnome-panel" value, then remove gnome-panel, restart your computer and gnome-panel will be removed. then you can replace it by using the dock applications, such as "kiba-dock, AWN, and cairo dock" to beautify your Ubuntu desktop display. good luck
Read More...!!

Restore Default GNome Panel in Ubuntu Lucid Lynx (10.04)

An easy way to restore gnome-panel in ubuntu Lucid Lynx is to use the restore panel program, which is a small scripting program that can help you to restore gnome panel by default. to restore this panel, you can download here

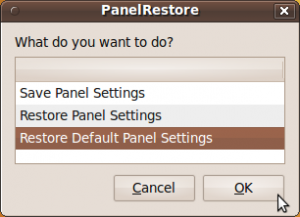
When finished downloading, extract the file, then double-click, the selection window will appear. select "Run" 


Select "restore defaut setting panel" then press OK. Gnome panel will change by default the same as when you first install. if there is still no change, restart your computer. good luck
Read More...!!

Install Libre Office In Ubuntu Maverick Meerkat (10.10)

To install Libre office in ubuntu 10.10 you must add third party repository, no go to terminal, login as root by type :


$ sudo su

Add third party repository, copy this command :

$ echo 'deb http://download.tuxfamily.org/gericom/libreoffice /' | sudo tee -a /etc/apt/sources.list

Get key server by type :

$ sudo apt-key adv --keyserver keyserver.ubuntu.com --recv-keys 890E7A26

Update repository and install libre office by type :

$ apt-get update
$ sudo apt-get install libreoffice3* lobasis3.3*

Now libre office has installed on your ubuntu 10.10
Read More...!!

Secure Your Password in Ubuntu Lucid Lynx (10.04) by using KeePassX

KeePassX is an open-source password manager to manage passwords and securely store passwords, where do you store the passwords will be stored into the database and to open the database requires a master key. and you only need to remember one password to view the secret password that you have saved.


You can install it by downloading the package at launchpad.net  here for installation insturction
Read More...!!

Design Digital Circuits in Ubuntu Using gEDA

gEDA is an application for designing digital electronic circuits, such as: PCB, circuit and part of the digital electronic circuit. which is usually used by people to design electro electronic circuit. 


gEDA also may assist you in designing a digital electronic circuit, or in other words assemble simulation applications in digital electronic circuits.

You can download this application package here:


To operate the application, you can visit the official website gEDA here:


http://www.gpleda.org/index.html

Read More...!!

Grub Recovery Ubuntu Maverick Meerkat (10.10)

I have been not updating this blog, after all this time, I will discuss about how to recover the damaged 10:10 grub ubuntu after installing windows. what we need is ubuntu LiveCD version 10:10, just go ahead. booting from the LiveCD and open a terminal, entered as a user with the command :

$ sudo su

Find the location of the partition ubuntu by type :

$ fdisk -l

As an example, look at the picture below:


The position of the ubuntu partition is located at /dev/sda1. make a directory to install grub :

$ mkdir /media/root

Mount ubuntu partition /dev/sda1 to /media / root by type :

$ mkdir /media/root

Once completed, then install grub with the command :

$ grub-install --root-directory=/media/root /dev/sda

If the steps above are correct, it will display the message "finished", now reboot your system then you will login in ubuntu and no grub ption to login in windows. after you login in ubuntu. open terminal and login as root bty type :

$ sudo su

Update grub by type :

$ grub update

Now, grub has been recovered. happy Testing..
Read More...!!

5 Mistakes Are Often Made By The Ubuntu User (newbie)

Many mistakes are often made for beginner ubuntu user, but which I quote here is the biggest mistake that is often done by the user both in terms of fundamentals and a very complicated, here are five of the biggest mistakes often made by the user:


1.  Too quick surrender

Many of us may never experience this. Assume Linux is difficult to learn and use, so only use it within a few hours only to give up and immediately thought back to using Windows. Could be due to normal, that's a wise sentence that invites us to get things in order.


2.  Avoiding terminal

Do not be shy and lazy to learn the command line in Linux, because once we know the 'miracle' command line we will be more comfortable using Linux. This is where a lot going on, new users shy and lazy to use the command line and prefer a graphical command.


3.  Sending OpenOffice document to Microsoft Office users in the default format

This happens because many new users in Linux they think the documents created and saved by default using OpenOffice can be automatically opened by a user of Microsoft Office. If there are cases like that then do not save it by default, but use the Save As (Save As) and choose the document formats for Microsoft Office (. Doc or. Xls).


4.  Delaying updates
 
The mistake was not only done by new users only, but the old user and admin classmates too much to delay the update. Whereas with a regular update the Linux system we will ensure a safer system.


5.  Login to the system as root

Do not log into the system as root, but as a normal user login and use the root account only when really needed it.
Read More...!!

Create Simple Flash Animation Using Ella In Ubuntu 10.04 (lucid) and 10.10 (Maverick)

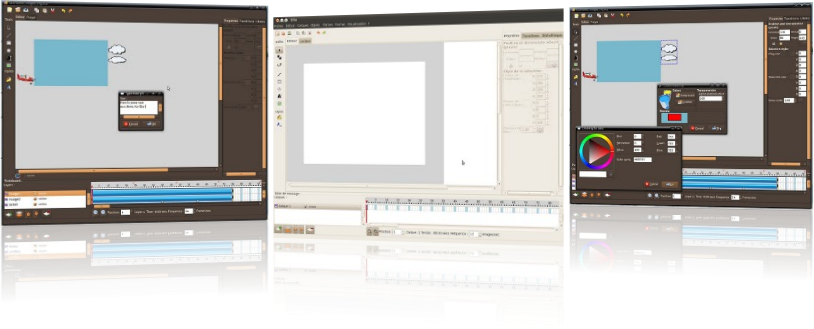
Ella is a simple flash animation maker applications on Linux, in addition to adobe in ubuntu can also create a simple flash animation using a ella. to install ella, you must add third party repository.


Go to terminal login as root by type :

$ sudo su
$ sudo add-apt-repository ppa:ella-animation/dev

Update and install ella by type :

$ apt-get update
$ apt-get install ella

Now Ella has installed and you can create simple flash animation in ubuntu, visit ella site if you want to install ella offline, you can download list packages here. Happy Testing...

Sources :

http://ella.tuxfamily.org/wiki/Ella:About
Read More...!!

Install Limewire In Ubuntu Lucid Lynx (10.04)

Limewire is sharring program applications, to get instant access to thousands of files are exclusive, including new songs, new movies, new games and much more. Limewire is a leader when it comes for file sharing. Known as free applicarions best peer to peer (p2p) to install free limewire version 5.5.8 in ubuntu lucid lynx (10.04)  you can add third party repository and download packages here....!! login as root and add this line :


$ sudo su
$ gedit /etc/apt/sources.list
deb http://archive.canonical.com/ lucid partner

Update sources by type :

$ apt-get update 

Then install it by double click and this packages need more packages and will downloadede automatically if you have added the third party repo's. now Limewire 5.5.8 have succesfully installed.

Happy Testing.....!!!
Read More...!!

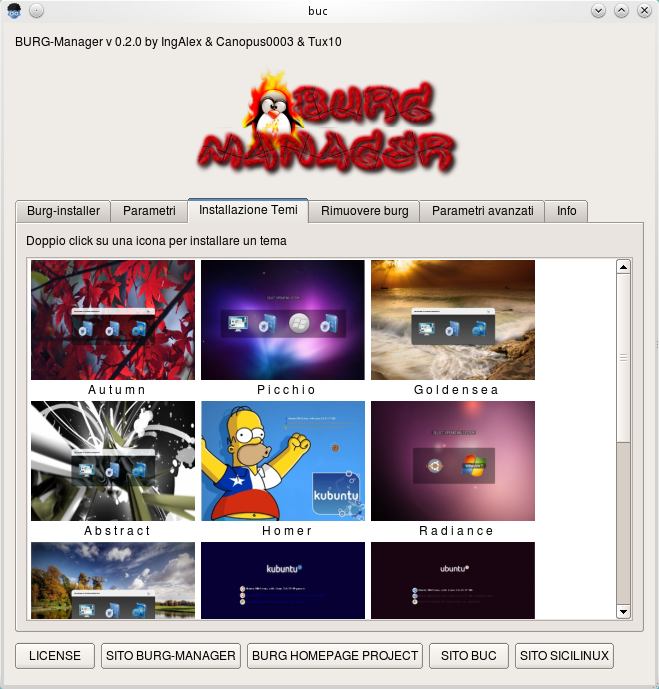
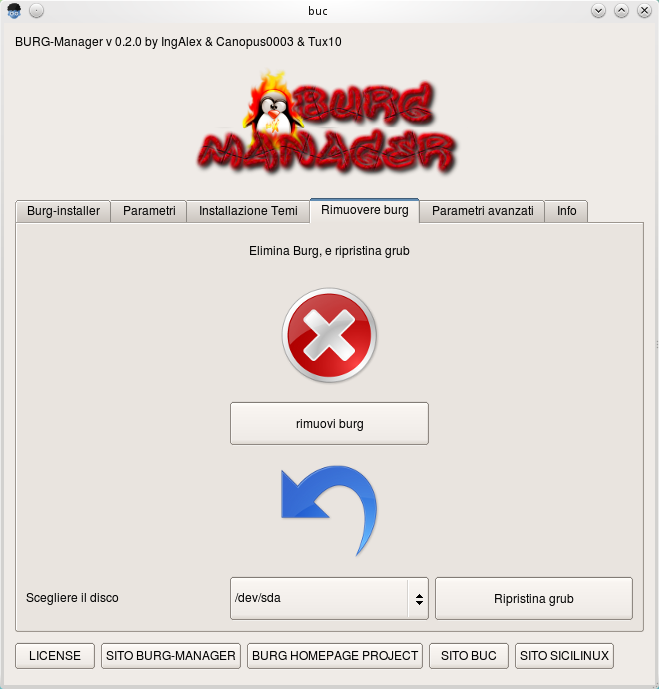
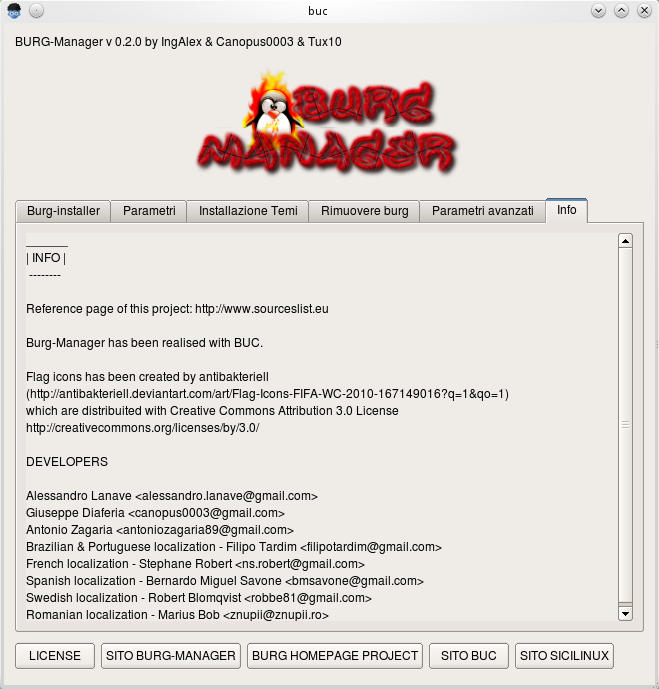
Change And Customize Grub Loader in Ubuntu Lucid Lynx (10.04) Using Burg-Manager

Here to replace grub loader still collor black white and text mode, to beautiful theme you can change it using burg-manger, to install download here then add third party repository, login as root by type :

$ sudo su
$ gedit /etc/apt/sources.list

Add this line then update and install :

deb http://buc.billera.eu/ubuntu/ binary/
sudo gedit /etc/apt/sources.list

$ apt-get update
$ apt-get install buc

Then install burg-manager pack package :


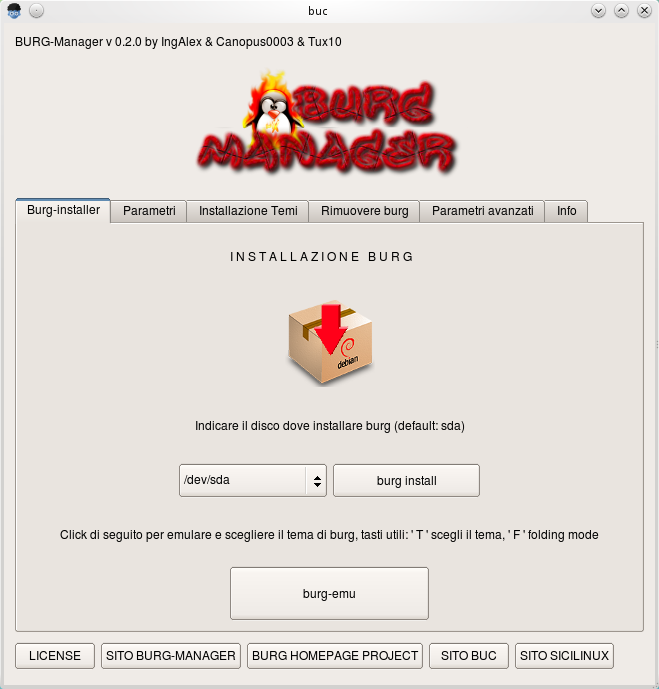
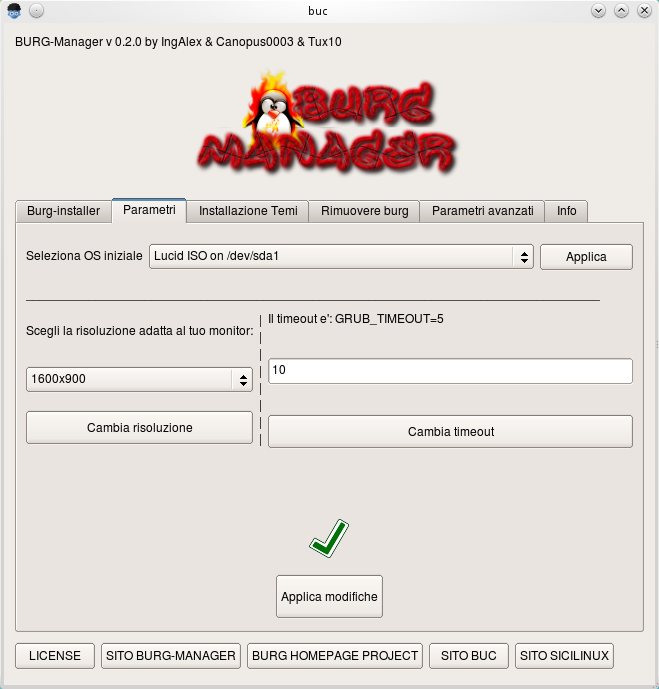
After installed, go to application > Systems Tools > burg manager then type your root password then select theme...

Happy Testing....

Sources :

http://buc.intilinux.com/wiki/index.php?title=Installare_BUC_tramite_repository
http://buc.billeragroup.net/?page_id=15
Enhanced by Zemanta
Read More...!!

Install F-Spot 0.7.1 In Ubuntu Lucid Lynx (10.04)

F-spot is photo application manager for Gnome desktop full feature personal photo management. you can manage personal photo use this application very simple and easy. to install it follow these steps :


$ sudo su
$ add-apt-repository ppa:f-spot/f-spot-ppa

Then update and install

$ apt-get update
$ apt-get install f-spot

And finish, now you can manage personal photo with full features of this application. if you want to install offline. just download here : http://f-spot.org/Main_Page

Happy Testing....!!!
Read More...!!

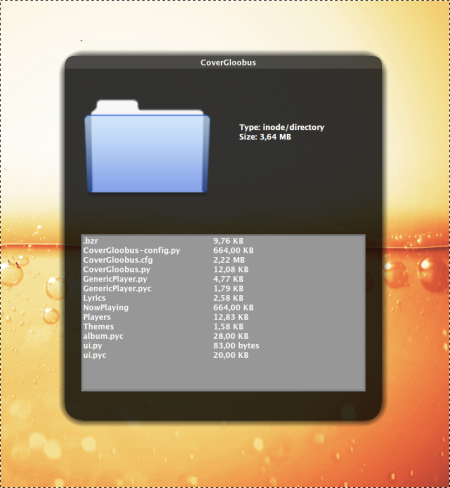
Quick Look File Using Globus Preview In Ubuntu Lucid Lynx (10.04)

To view some files or folders on your hard disk much hassle of having to open the folder one by one. here for qiuck look file to search and open file qickly using globus preview. to install it, add reposirtory. go to terminal and login as root :


$ sudo su
$ sudo add-apt-repository ppa:gloobus-dev/gloobus-preview

Update and install

$ apt-get update
$ apt-get install gloobus-preview

Now you can quick look file into folder just press "spacebar" on file manager, then you can view the contents of  folder.

Happy Testing...!!
Read More...!!

Install Gmail Notification Applet in Ubuntu Lucid Lynx (10.04)

Some email applications can check email without opening your browser, this application is made to allow a user to check emails every day without opening a browser. one of these applications is gmail-notifier. to install it we need download this packgages. go to terminal, then type :


$ wget -c http://repo.ahadiel.org/apt/lucid/gmail-notifier_1.7_all.deb

After finished, go to file directory have you downloaded then install it dont forget login as root by type :

$ sudo su
$ dpkg -i gmail-notifier_1.7_all.deb

Now, run this application go to > Internet > Gmail Notification Setting, then set your Gmail account. if you want this application automaticaly when startup. go to application > System > Startup Application then fill colummn by :

Name : Notifier
Command :  gmail-notifier.py
Comment : "leave it blank"

Now restart gdm by :

$ /etc/init.d/gdm restart

Happy Testing.....!!
Read More...!!

Recover Network Manager Applet in Ubuntu

Have you ever had a network manager applet on the panel missing?, if it missing we have trouble to easy connect to the internet. here to recover it go to terminal then :


Type this :

$ nm-applet –nm-disable

Then :

$ nm-applet –nm-disable &

Now you can see network manager applet, if you not see it. please reboot your machine.
Happy Testing....!!
Read More...!!

Install New Fonts In Ubuntu Lucid Lynx (10.04)

In previous post, we have been discussed about installing font in ubuntu jaunty jackalope (9.04), now i will post installing new fonts in ubuntu lucid (10.04). but in here to install its very easy. first you must download font by extension : (.otf and .ttf) you can download here or you can search by Search Engine.


after download it extract then to install it. Just click and new font ready to use, this is very easy than install new font in ubuntu jaunty (9.04).

Happy Testing..!!
Read More...!!

Reset MySQL Password In Ubuntu

I have forgoten MySQL password on myy ubuntu, then i found this post. it is very helpfull. to reset MySQL password in ubuntu. but you must open two windows termnial, go to terminal, on terminal 1 login as root then stop MySQL service by type :


$ sudo su
$ sudo /etc/init.d/mysql stop

Now go to terminal 2 dont forget login as root then activate MySQL service by type :

$ sudo su
$ sudo mysqld –skip-grant-tables

Back to teminal 1  run MySQL client :

$ myql
$ mysql> use mysql;

Now change password by type query :

$ mysql> update user set Password=password(‘NewPassword’) where User= ‘root’;
$ mysql> flush privileges;

Stop MySQL service on terminal 1 :

$ sudo killall mysqld

Now activate again MySQL service on terminal 1 :

$ /etc/init.d/mysql start

Now you can run new MySQL password.
Sources : http://adhit.web.id/reset-password-root-database-mysql-di-linux/
Happy Testing....!!
Read More...!!

Install GnoMenu 2.8 In Ubuntu Lucid Lynx (10.04)

GnoMenu  A consolidated menu for gnome that brings eye candy to the world of the Gnome menu's. Fully functional menu , supports themes , for a composited or non composited desktop. It can emulate the look and feel of the most beautiful menus of most modern desktops, and it can also custom menus, due to its powerful theme XML engine. Latest version GnoMenu is 2.8. To install it, go to terminal, login as root by type :


$ sudo su

Add third party repository and update :

$ add-apt-repository ppa:gnomenu-team/ppa
$ apt-get update

Then install it, by type :

$ apt-get install gnomenu

To customize it, right click to panel > add to panel > select gnomenu and add other you like. and finish....!! more info about GnoMenu visit : http://gnomenu.blogspot.com/

Happy Testing...!!
Read More...!!