Change Samba Workgroup On Ubuntu

Enter to the Terminal as root.

$ sudo su
$ gedit /etc/samba/smb.conf

Edit the line below

workgroup = workgroup

Replace with

workgroup = MSHOME

Save the file that has been in the edit.

reboot.
Read More...!!

Create Virtual Host Lamp Server On Ubuntu Interpid 8.10

To add a lamp on the host server, we simply open a terminal and log in as root.

$ cd /etc/apache2/sites-available
$ touch-your-site name.conf
$ gedit-your-site name.conf

Enter your Virtual hostname, for example:

Servername myserver
ServerAdmin me@myserver
DocumentRoot/home/me/webroot/default

Options-Indexes
AllowOverride All
Order Allow, Deny
Allow From All


Save Name the new virtual host.

$ cd .. /sites-enabled
$ ln-s/etc/apache2/sites-available/nama-site-anda.conf
$ . /site-name-anda.conf
$ cd .. /
$ gedit apache2.conf

Enter the script below on apache2.conf

# Include the virtual host configurations:
NameVirtualHost 127.0.1.1:80

Include /etc/apache2/sites-enabled/

Save the above script that you add.

$ gedit /etc/hosts

127.0.0.1 localhost
127.0.1.1 minez myserver

Then save. restart apche2

$ /etc/init.d/apache2 restart

Virtual host that you just created, and can be accessed, if not successful, repeat above.

Congratulations and Happy Testing....!!
Read More...!!

Playing N64 With Emulator Mupen64 Plus for Linux On Ubuntu

Nintendo N64 Games and Mupen64 is an application of game N64 emulator for multiple OS.

To install, download the file


http://mupen64plus.googlecode.com/files/Mupen64Plus-1-3-bin-64.zip


Unzip the package with the command

$ unzip Mupen64Plus-1-3-bin-*.zip
$ cd Mupen64Plus-1-3-bin-*/
$ ./install.shmupen64plus


Done, To run Mupen64, you simply type "mupen64plus" In the terminal.

Just Try it...!!
Read More...!!

Install Al-Qur'an Research Tool (zekr) On Ubuntu Interpid 8.10

Many who do not know that ubuntu also have islamic application, namely zekr-Qur'an. For Al-Qur'an Installing ubuntu on you, first check the repository universe, is already active / not yet. Easy to install highly enough to enter the terminal as root and enter the command

$ apt-get install zekr zekr-quran-translations-en ttf-scheherazade ttf-SIL-farsiweb

In addition to the applications above, there are many more applications islamic,
Happy Testing...!!
Read More...!!

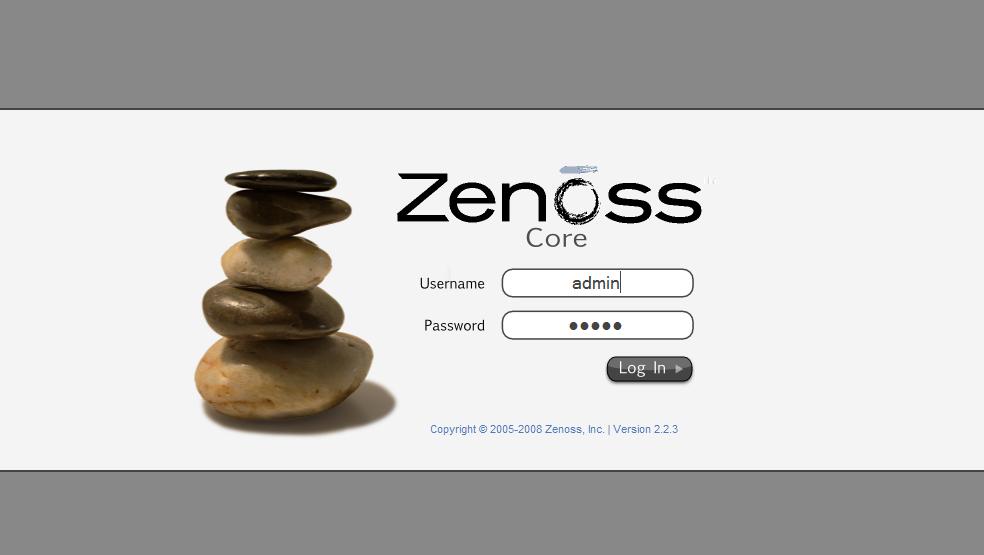
Install Zenoss Stack on Ubuntu 8.04 (Hardy)

Zenoss Monitoring for Applications is open source, before we install aplications, we must add the command repsitory


$ sudo gedit /etc/apt/sources.list

paste the code below in your sources.list


deb http://dev.zenoss.org/deb main stable


Update repository by type :.

$ apt-get update
$ apt-get install zenoss-stack

start zenoss

$ /etc/init.d/zenoss-stack start

Happy Testing...!!

For more info visit Details http://docs.zenoss.com
Read More...!!

Install Driver Modem Prolink on Ubuntu Interpid 8.10

Install Modem Driver for Prolink at 8:10 ubuntu you have to be in the package downlaod first. first download the package first "ungrab_winmodem (Version 2.9.11-20070813) and slmodem (Version 20070505)"
after Done, Then install libstdc++6-4.1-dev by type


$ sudo apt-get install libstdc++6-4.1-dev

extract ungrab_winmodem by type

$ tar xvfz ungrab_winmodem

change to active directory ungrab_winmodem sa root

$ make
$ make install

$ modprobe ungrab-winmodem,

Extract slmodem by type

$ tar xvfz slmodem

Change to active directory slmodem as root

$make
$ make install

$ modprobe slamr
$ ln -s /dev/ttySL0 /dev/modem
to detect prolink modem

Then install gppp/kppp by type:


$ apt-get install gppp

Happy Testing...!!
Read More...!!

Install Kiba Dock On Ubuntu 8.10

Kiba-Dock, as avant-window-navigator, kiba but performance-Dock better than avant, animation clear about kiba-Dock
the most fun. hee ...!!!

To install it, we need to have the packet with this command:


$ sudo apt-get install fakeroot automake1.9 build-essential libpango1.0-dev libgtk2.0-dev libgconf2-dev libglitz-glx1-dev librsvg2-dev libglade2-dev libxcomposite-dev subversion libtool libgtop2-dev python-gtk2-dev libgnome-menu-dev libgnomeui-dev libgnomevfs2-dev intltool libxml2-dev libglitz1-dev libcairo2 libdbus-1-dev libgtop2-7 libgnomevfs2-0 libgnomeui-0 librsvg2-2 python-feedparser libasound2-dev libsdl1.2-dev libdbus-glib-1-dev libgstreamer-plugins-base0.10-dev libgstreamer0.10-dev libgstreamer0.10-0 pidgin-dev libpurple-dev subversion

after all is installed, we downloaded packet kiba-Dock is.
with the command:

$ svn co https://kibadock.svn.sourceforge.net/svnroot/kibadock/trunk/ kiba

Into direktory akamaru by:

$ cd kiba/akamaru
$ ./autogen.sh
$ make
$ sudo make install

Happy Testing..!!
Read More...!!

Install and Configuration Lamp in Ubuntu 8.10

To Install Lamp on Ubuntu 8.10 we need to install Apache, MySQL and PHP first. to install we follow these steps:

Go to terminal, login as root by type :


$sudo su


$ apt-get install apache2

Test after installed apache on the browser type favored us with "http://localhost/" in the address bar, after a successful install of PHP by type


$ apt-get install php5 libapache2-mod-php5

To be compatible PHP, PHP restart with the command


$ /etc/init.d/apache2 restart

Then test your browser with mengetikan http://localhost/testphp.php in the browser address bar. Install Mysqlserver using the command in terminal


$ apt-get install mysql-server

Run mysql by type

$ mysql -u root -p

Enter your root password, and then install the next packet with the command

$ apt-get install libapache2-mod-auth-mysql php5-mysql phpmyadmin

after installed, PHP should work with MySQL to edit php.ini to change the (;). ; = mysql.so extension with extension = mysql.so using

$ gedit /etc/php5/apache2/php.ini

now restart apache using the command


$ /etc/init.d/apache2 restart

Happy Testing...!!
Read More...!!

Install Program Windows On Ubuntu Interpid (8.10) Using Crossover Application

Running windows programs on ubuntu ...??? certainly can ...!!! ubuntu usually run the program using the application windows "Wine or Wine door" program is also now have ubuntu to run windows program that is "Crossover Linux Pro 7.1.0"


To install it. first download in http://www.codeweavers.com/products/cxlinux/ wich crossOver .deb
after downloaded, we simply use the click to install 2 times.

Once installed go toApplications > CrossOver > Install Windows Software
appear after the interface, there is a list of programs that support the windows with Crossover this, select the program to live what we want to install.

Done, and just to run the program windows that we install has been appearing on your desktop.

Happy Testing....!!
Read More...!!

Activate Restricted Driver Manager

There are some devices that must use the restricted driver. This is often found that using the vga chipset Nvidia and ATI. activation ability to vga on 3D, we can install it separately.

1.
Before installing the driver, make sure the repository is connected with both. Then go to Menu → Administration → Restricted Drivers Manager
2.
In the Restricted Drivers Manager, please check the driver that you want to install, and then click OK to start the download and installation process. When is finished restart your computer to see the changes that occur.
Read More...!!

Install Real Player 11 and Configuration Mozilla Firefox Plugins on Ubuntu

To Install Real Player 11 and on ubuntu configuration into mozilla plugins.

follow the process below.

packet download real player 11 below: Install real player 11 + mozilla plugins configuration www.real.com go to to the terminal, and go to direktory that you have downloaded.


$ sudo su
$ chmod 770 RealPlayer11GOLD.bin
$ ./RealPlayer11GOLD.bin


Once there is a message requesting the directory

/opt/real/RealPlayer

then copy the command below

$ cd /usr/lib/firefox-addons/plugins
$ sudo ln -s /opt/real/RealPlayer/mozilla/nphelix.xpt nphelix.xpt
$ sudo ln -s /opt/real/RealPlayer/mozilla/nphelix.so nphelix.so
$ sudo mv /usr/lib/totem/gstreamer/libtotem-complex-plugin.so ~/.

To firefox configuration, open firefox and type

about:plugins

on addres bar

Helix DNA Plugin: RealPlayer G2 Plug-In Compatible
File name: /opt/real/RealPlayer/mozilla/nphelix.so
Helix DNA Plugin: RealPlayer G2 Plug-In Compatible version 0.4.0.4005 built with gcc 3.4.3 on Feb 25 2008

if plugins have already above, then the player is Real
installed

Happy Testing....!!
Read More...!!

Changing GDM Login Background Color On Ubuntu

At the time we sign in, sign in background at the time after we input the username & password and the default background color Ubuntu. If we black theme then sinkronuntuk not we just change it using the command in terminal


$ sudo su

$ gedit /etc/gdm/gdm.conf

Then search under this section

BackgroundColor=#dab082
GraphicalThemedColor=#dab082

The above is the default color

# 000000 I mean the color black.

Happy Testing...!!
Read More...!!

Configuring Printer Sharing Client On Ubuntu

On Fiesty Ubuntu 7.04 (Other versions) printer dialog manager with a different UbuntuGutsy 7:10. But do not worry because the same easy to use. Printer configuration on Ubuntu Gutsy and Hardy

1. On the Start Menu, choose Administration → Printing to display the dialog box as below. Then click the New Printer button

2. Select the option Windows Printer Via Samba. Then click Browse to display a list of printer sharing in the

3. Note the picture below, the display shows the printer disharing-printer on the network using samba. Then select the printer you want to use.

4. Make sure you know the type of printer driver and you want to use it. Then select the type of start and printer drivers available in the list

5. Note the picture below shows the printer has been successfully entered. Then click Print Test Page button to try to print, or click the Make Default to make as the default printer

Printer Configuration Ubuntu 7:04

1. On the Start Menu, choose Administration → Printing. Then click the New Printer icon

2. At Step 1, select Network Printer option with Windows Printer (SMB). Wait some time, the system will try to detect the printer on-shared

3. Next view some of the printer is detected, click cancel pendeteksian process continues until the printer is finished. The name that appears under the name of the server hostname in printer sharing

4. following list of hostnames that do printer sharing. Select a course in accordance with their needs. Be sure to identify the type of printer and the drivers that will be used. Do not forget to choose a printer that disharing. Then click Forward. (Username and password are blank)

5. the next step, select the printer driver used. Then the printer is ready to use.

Happy Testing
Thanks
Read More...!!